Materials:
- Plain ceramic mugs (make sure they are oven-safe and lead-free)
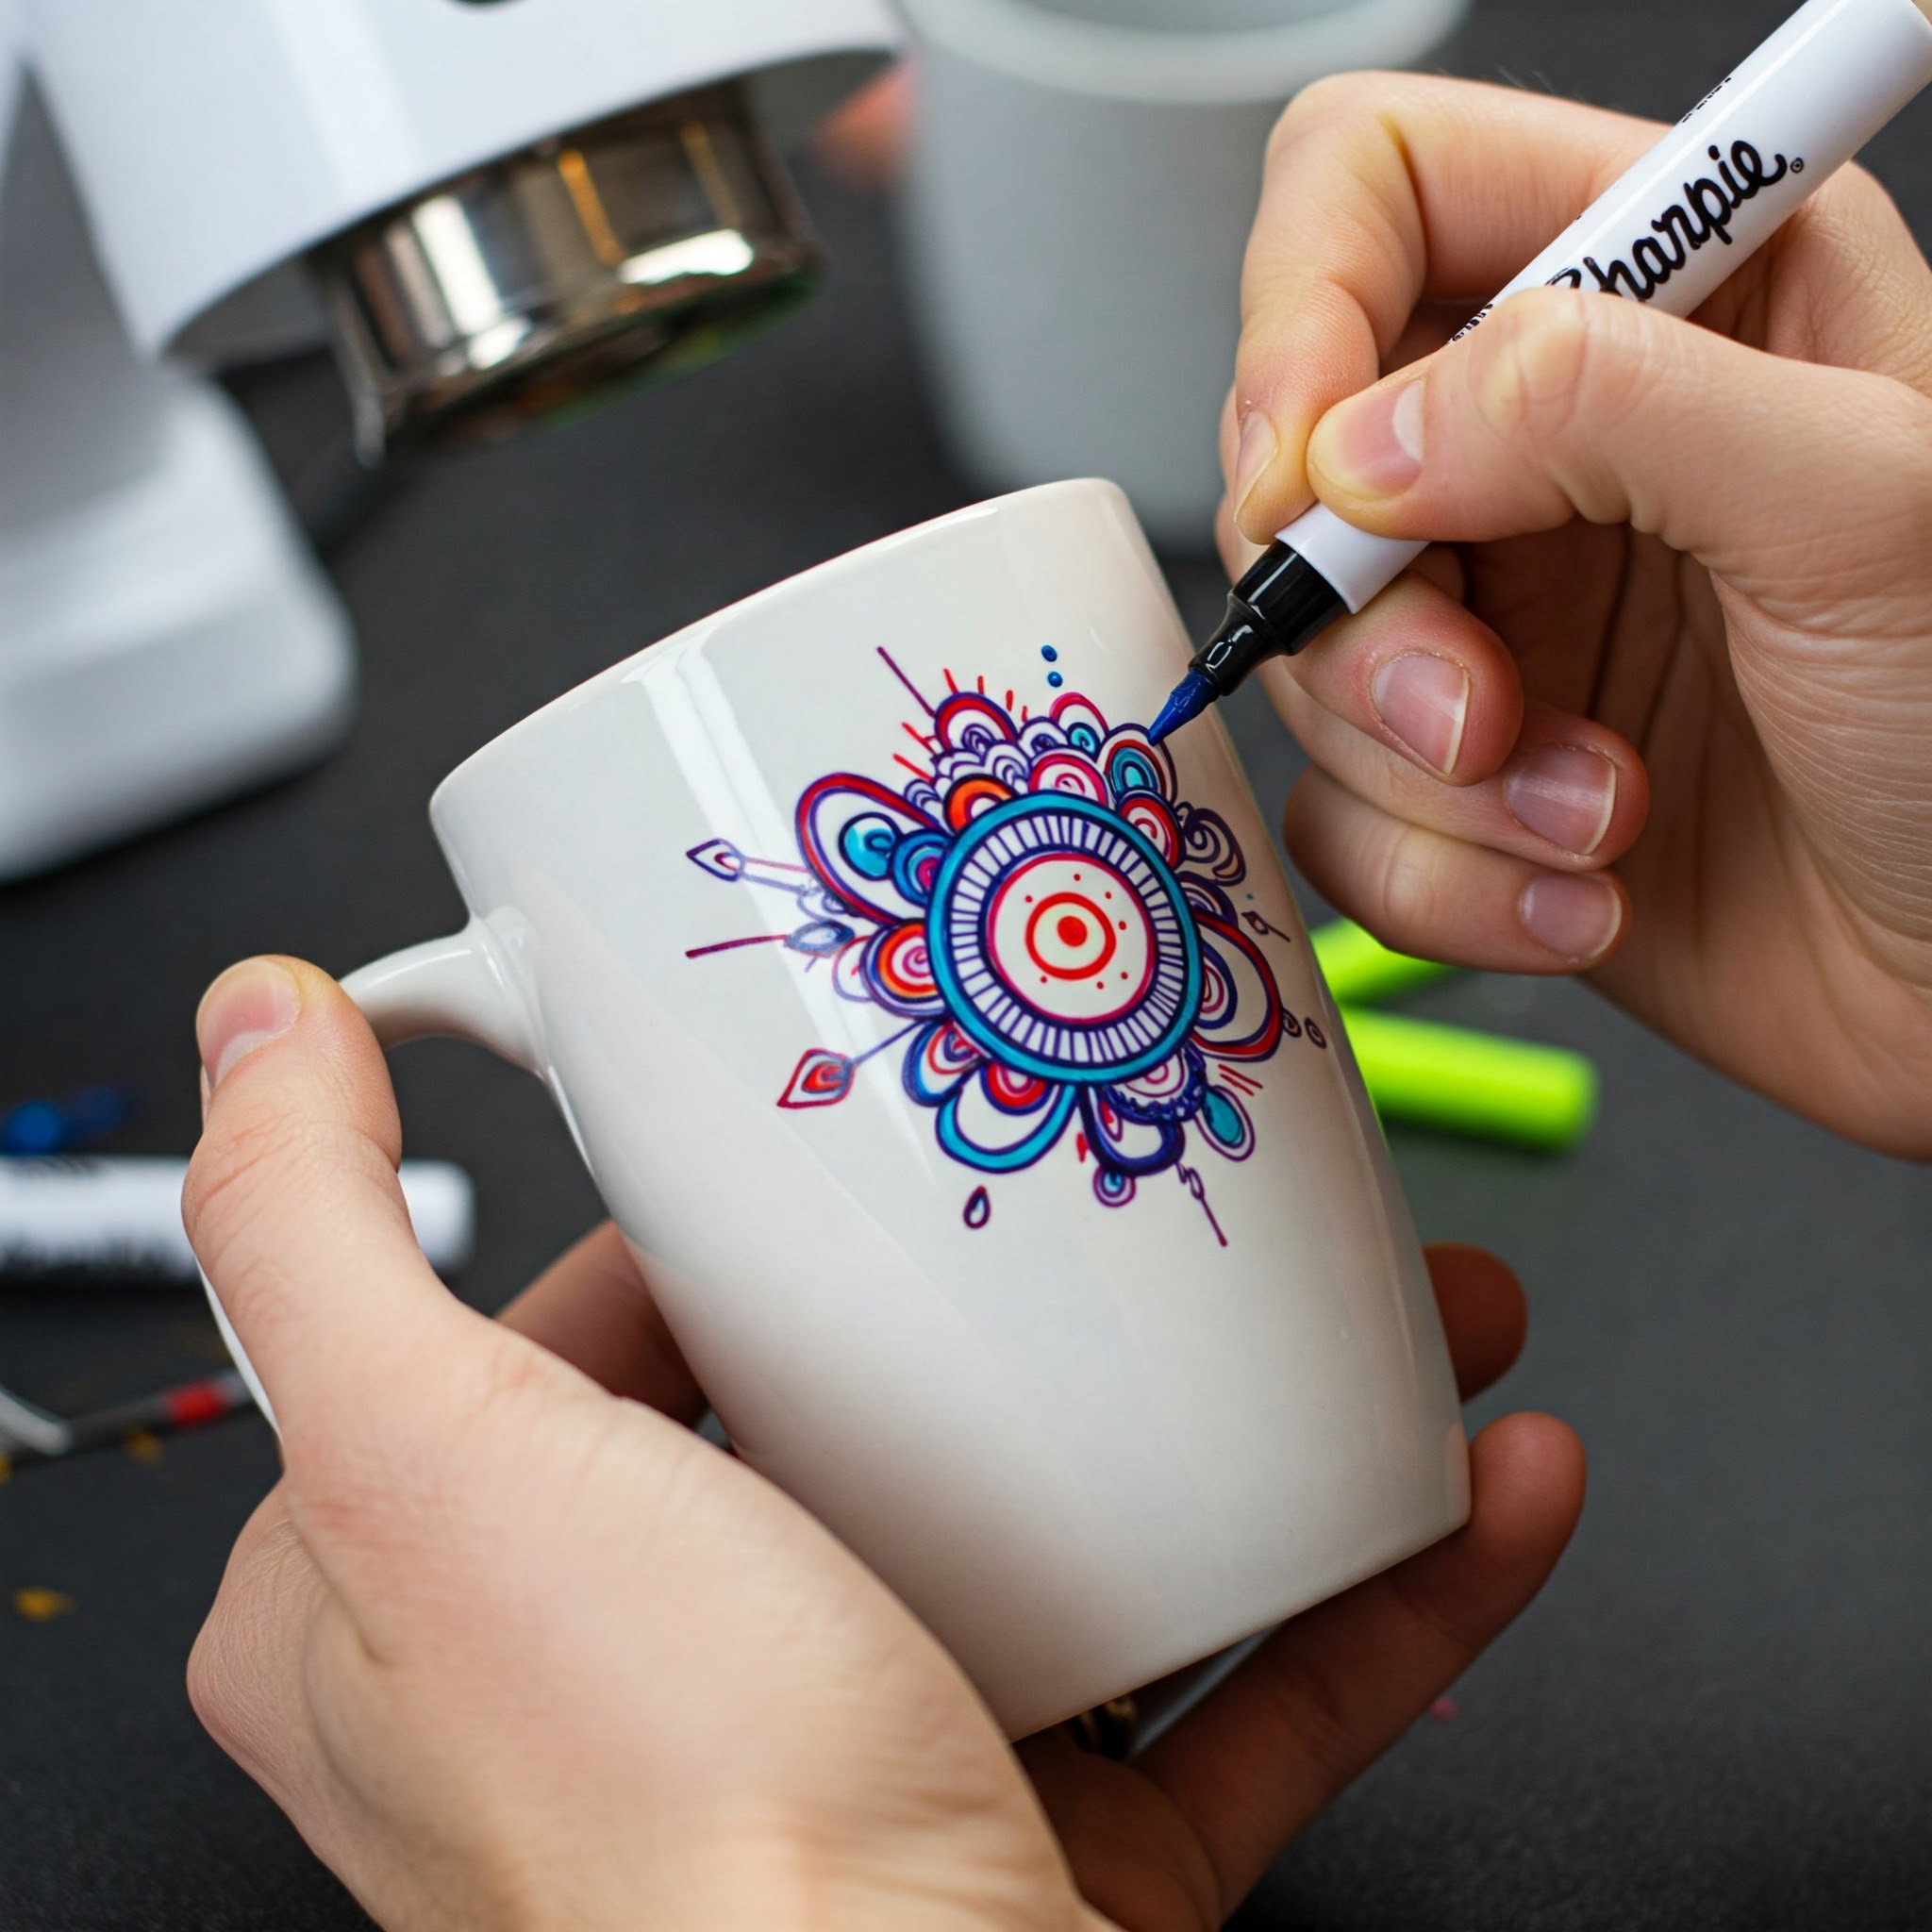
- Oil-based Sharpie markers (not water-based; these are crucial for the design to last)
- Cotton swabs or Q-tips (for correcting mistakes)
- Rubbing alcohol (for cleaning and correcting)
- Oven
Instructions:
- Clean the Mug: Thoroughly clean the mug with soap and water to remove any oils or dirt. Dry it completely. This ensures the Sharpie adheres well.
- Design Your Mug:
- Plan your design: Sketch out your design on paper first. Consider the shape of the mug and where you want the design to be placed. Avoid areas that will come into direct contact with your mouth when drinking.
- Start drawing: Use the oil-based Sharpie markers to create your design on the mug. You can use different colors, create patterns, write words, or draw pictures.
- Correct mistakes: If you make a mistake, quickly use a cotton swab dipped in rubbing alcohol to remove the Sharpie. Be sure to clean the area well with a dry cotton swab before redrawing.
- Let the Design Dry: Allow the Sharpie design to dry completely for at least 24 hours. This is important for the design to set properly before you apply heat.
- Bake the Mug (Heat Setting):
- Preheat oven: Preheat your oven to 350°F (175°C).
- Place mug in oven: Place the mug in the cold oven. This prevents the mug from cracking due to sudden temperature changes.
- Bake: Bake the mug for 30 minutes.
- Cool down: Turn off the oven and let the mug cool completely inside the oven. Again, this prevents cracking.
- Test and Enjoy: After the mug has cooled, you can test the design by gently hand-washing it. While the baking process makes the design more permanent, it’s still recommended to hand-wash your personalized mug to extend its lifespan. Avoid using abrasive cleaners or scrubbing the design.
Tips and Tricks:
- Oil-based Sharpies are essential: Water-based Sharpies will wash off, even after baking.
- Simple designs are best for beginners: Start with simple designs and work your way up to more complex ones.
- Practice on a spare mug: If you’re nervous about ruining your good mug, practice on a less expensive one first.
- Don’t overcrowd the design: Leave some space between elements of your design to prevent colors from bleeding during baking.
- Consider the mug’s function: Avoid placing the design in areas that will come into contact with food or your mouth.
- Hand-washing is recommended: Even after baking, hand-washing is the best way to preserve your design. Avoid using the dishwasher, as the high heat and harsh detergents can fade or damage the design over time.
Safety Precautions:
- Use oven mitts: When handling the hot mug, use oven mitts to protect your hands.
- Work in a well-ventilated area: While the fumes from baking Sharpie are generally considered low-risk, it’s always a good idea to work in a well-ventilated area.
- Supervise children: If children are participating in this project, supervise them closely, especially when using the oven.
By following these steps, you can create unique and personalized mugs that make great gifts or additions to your own collection!