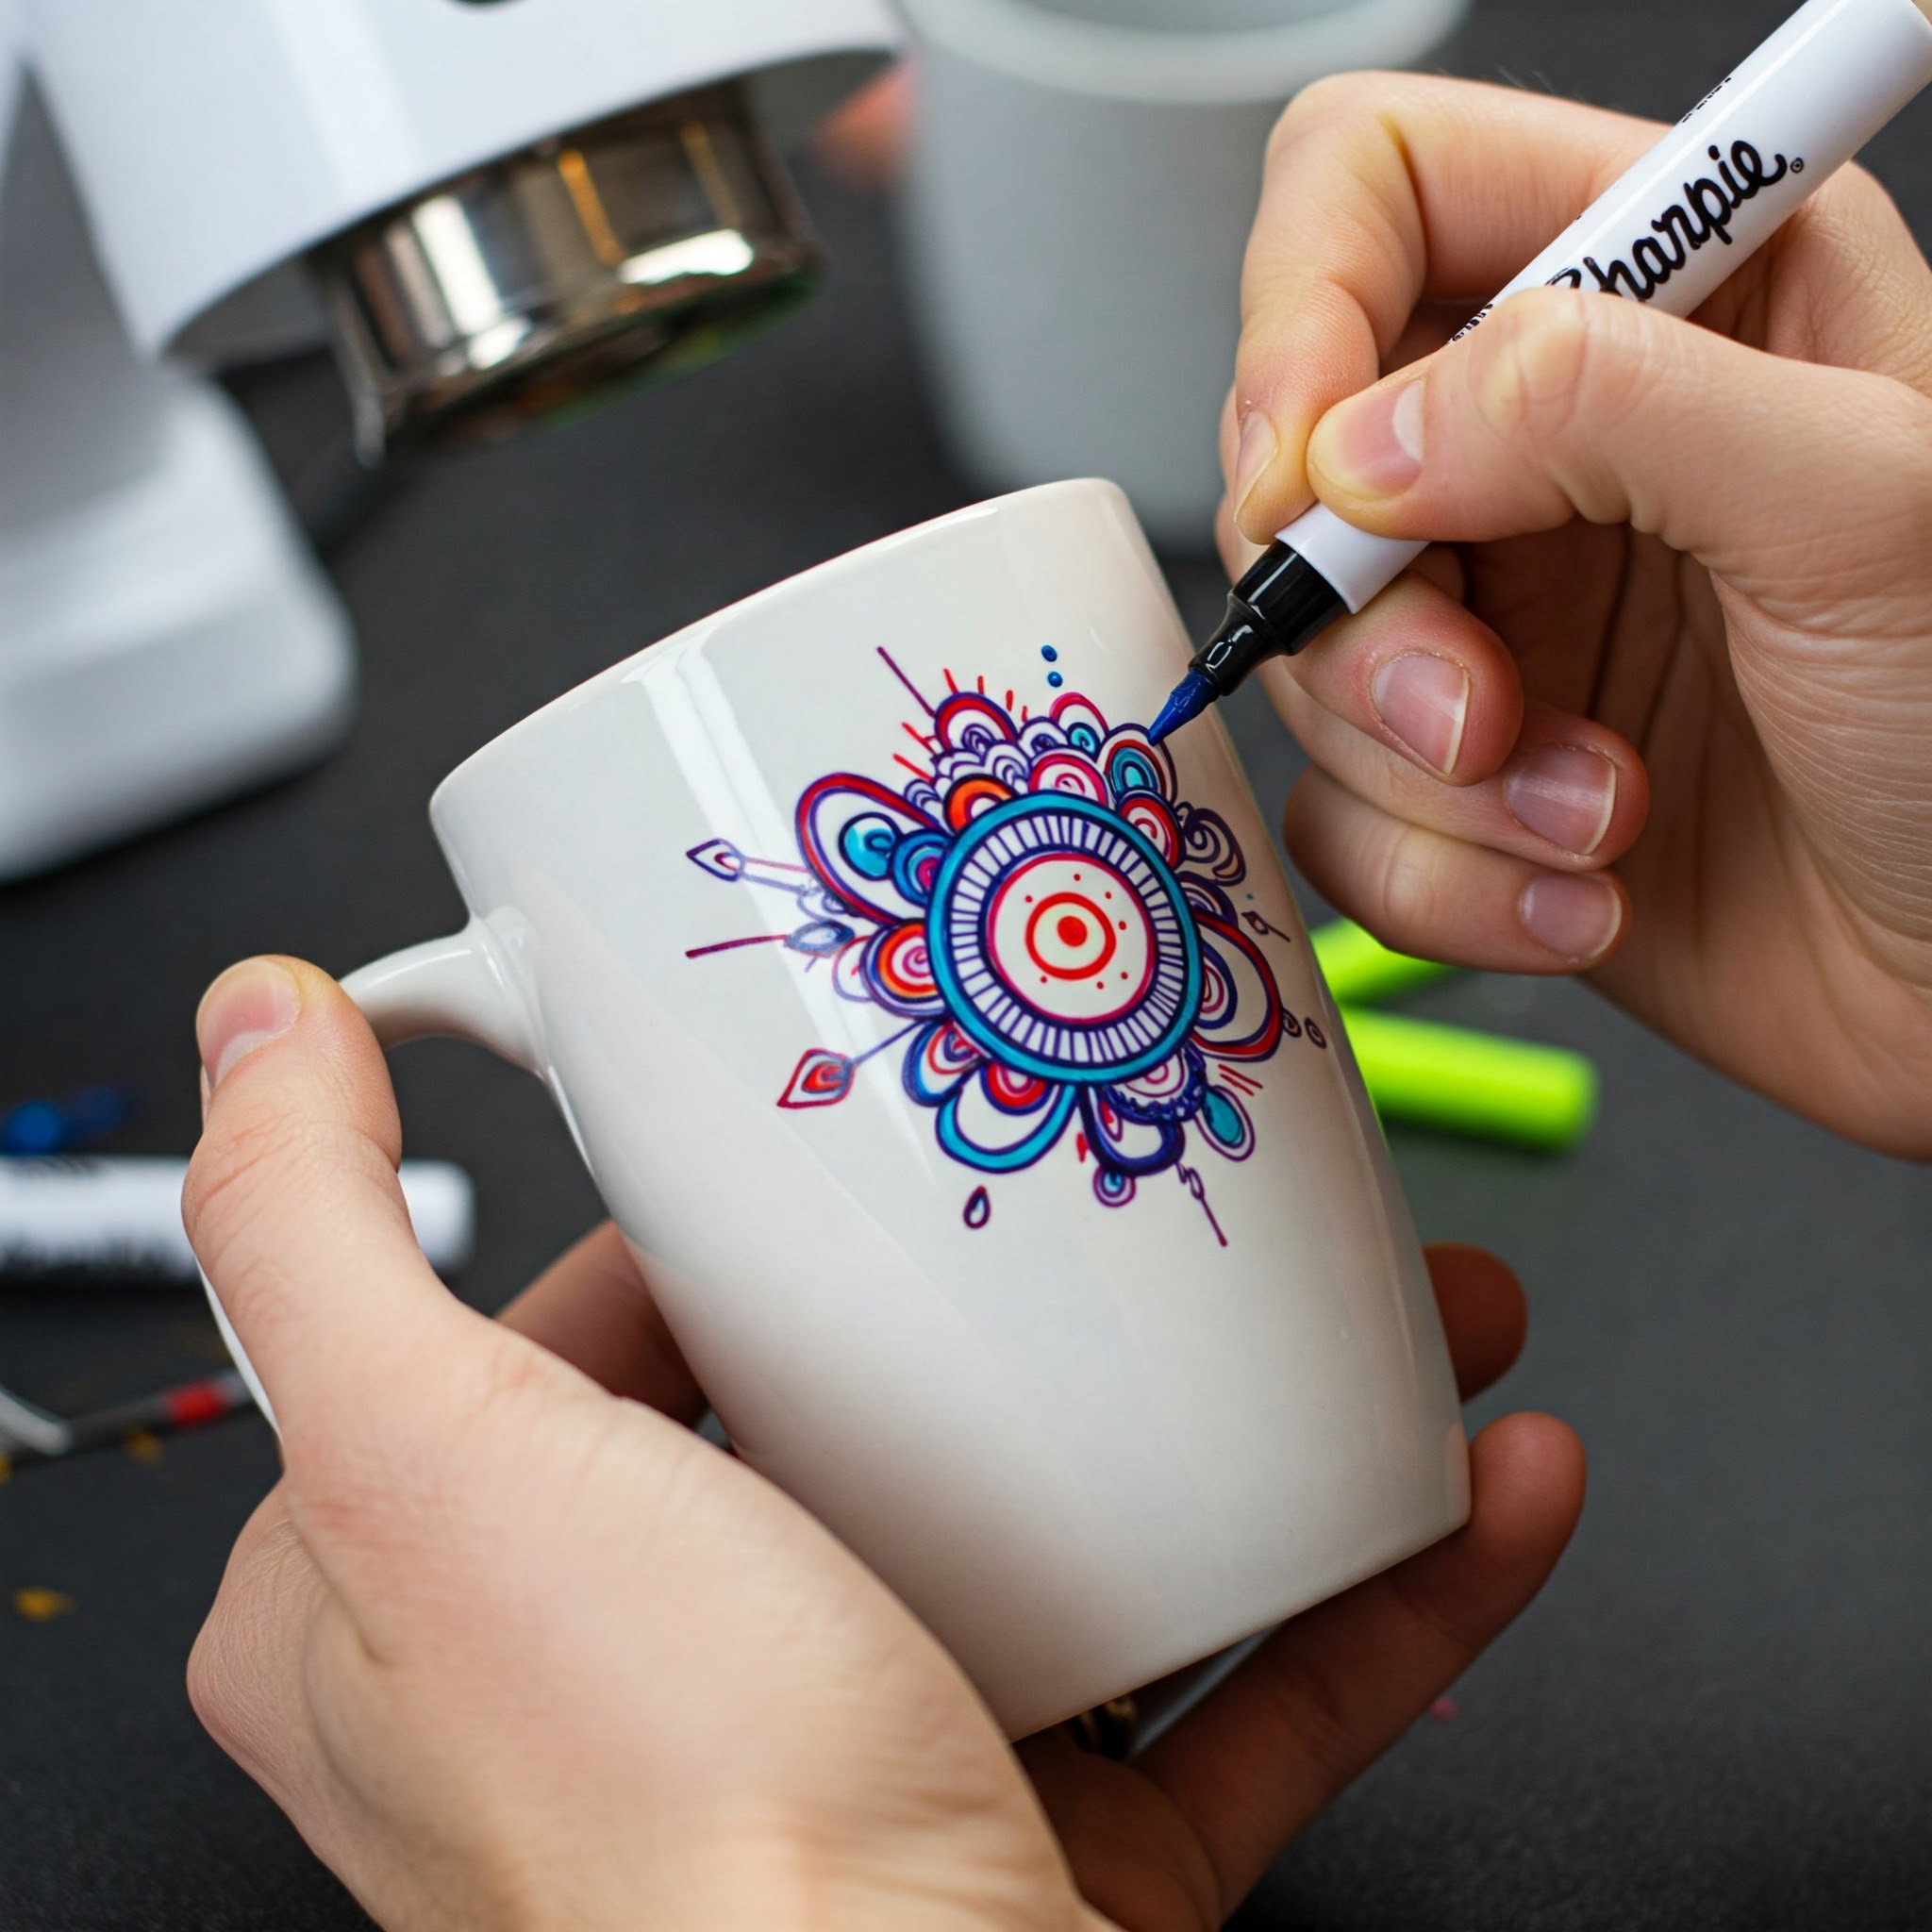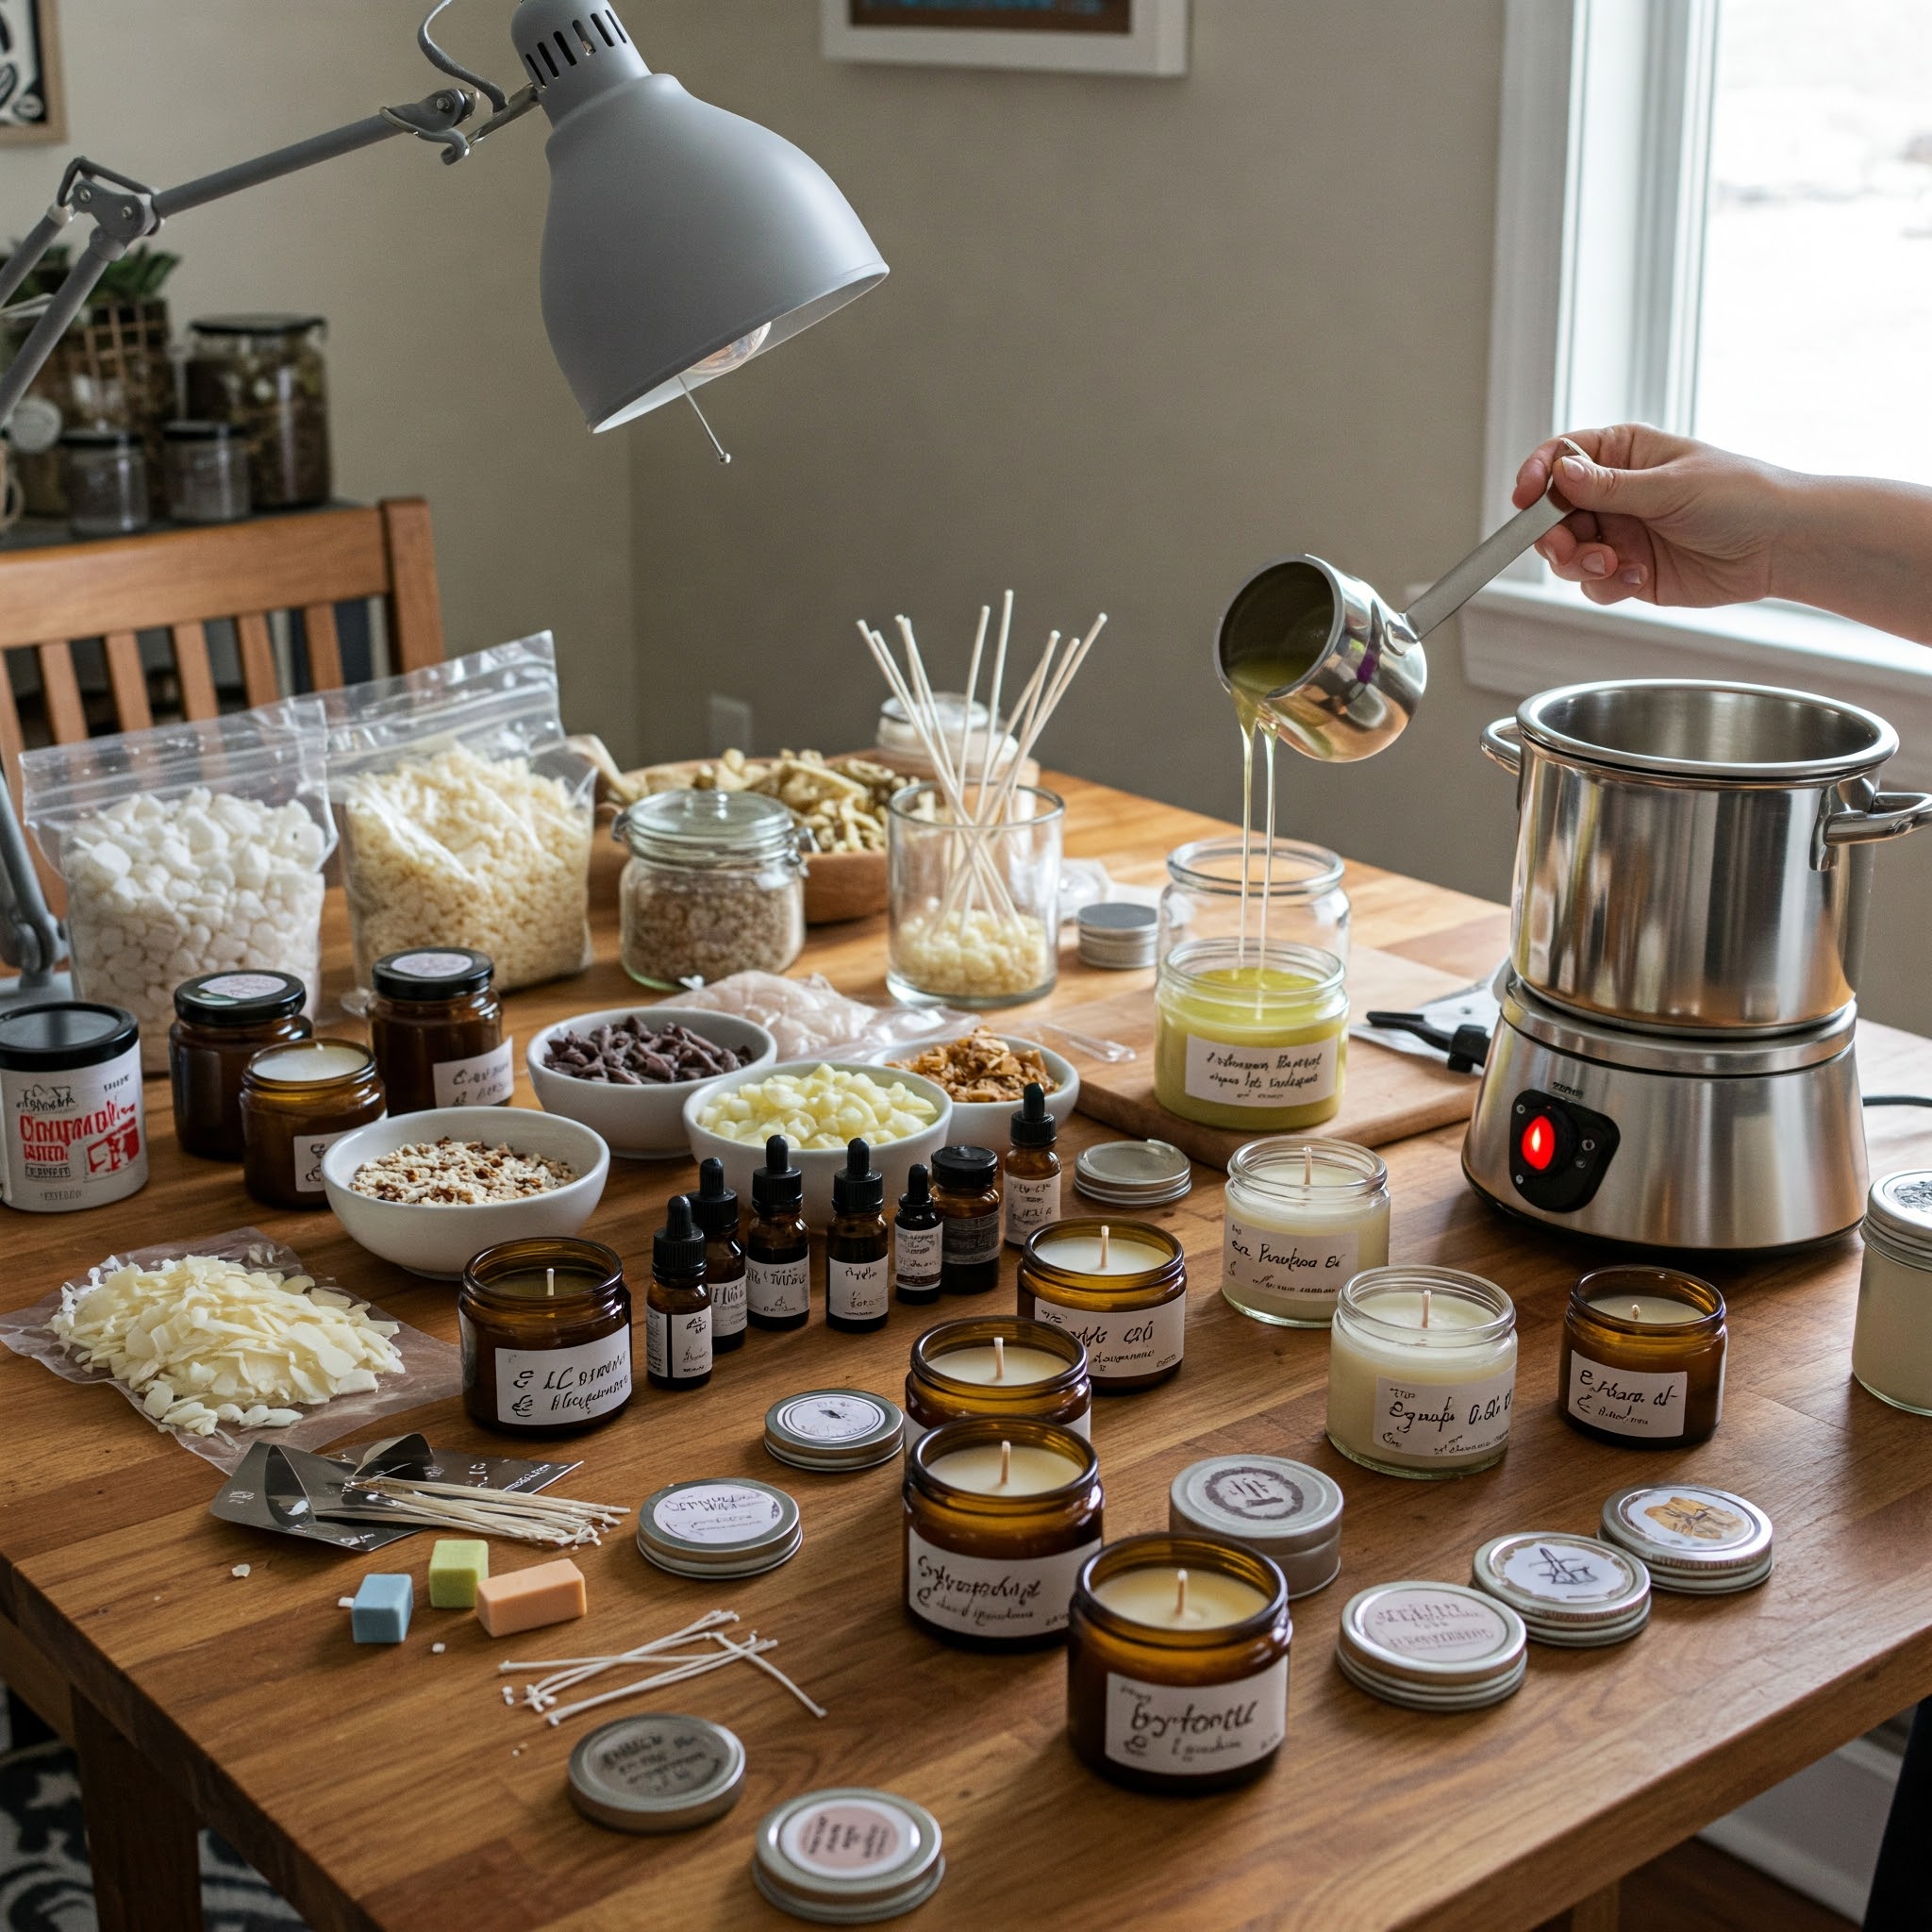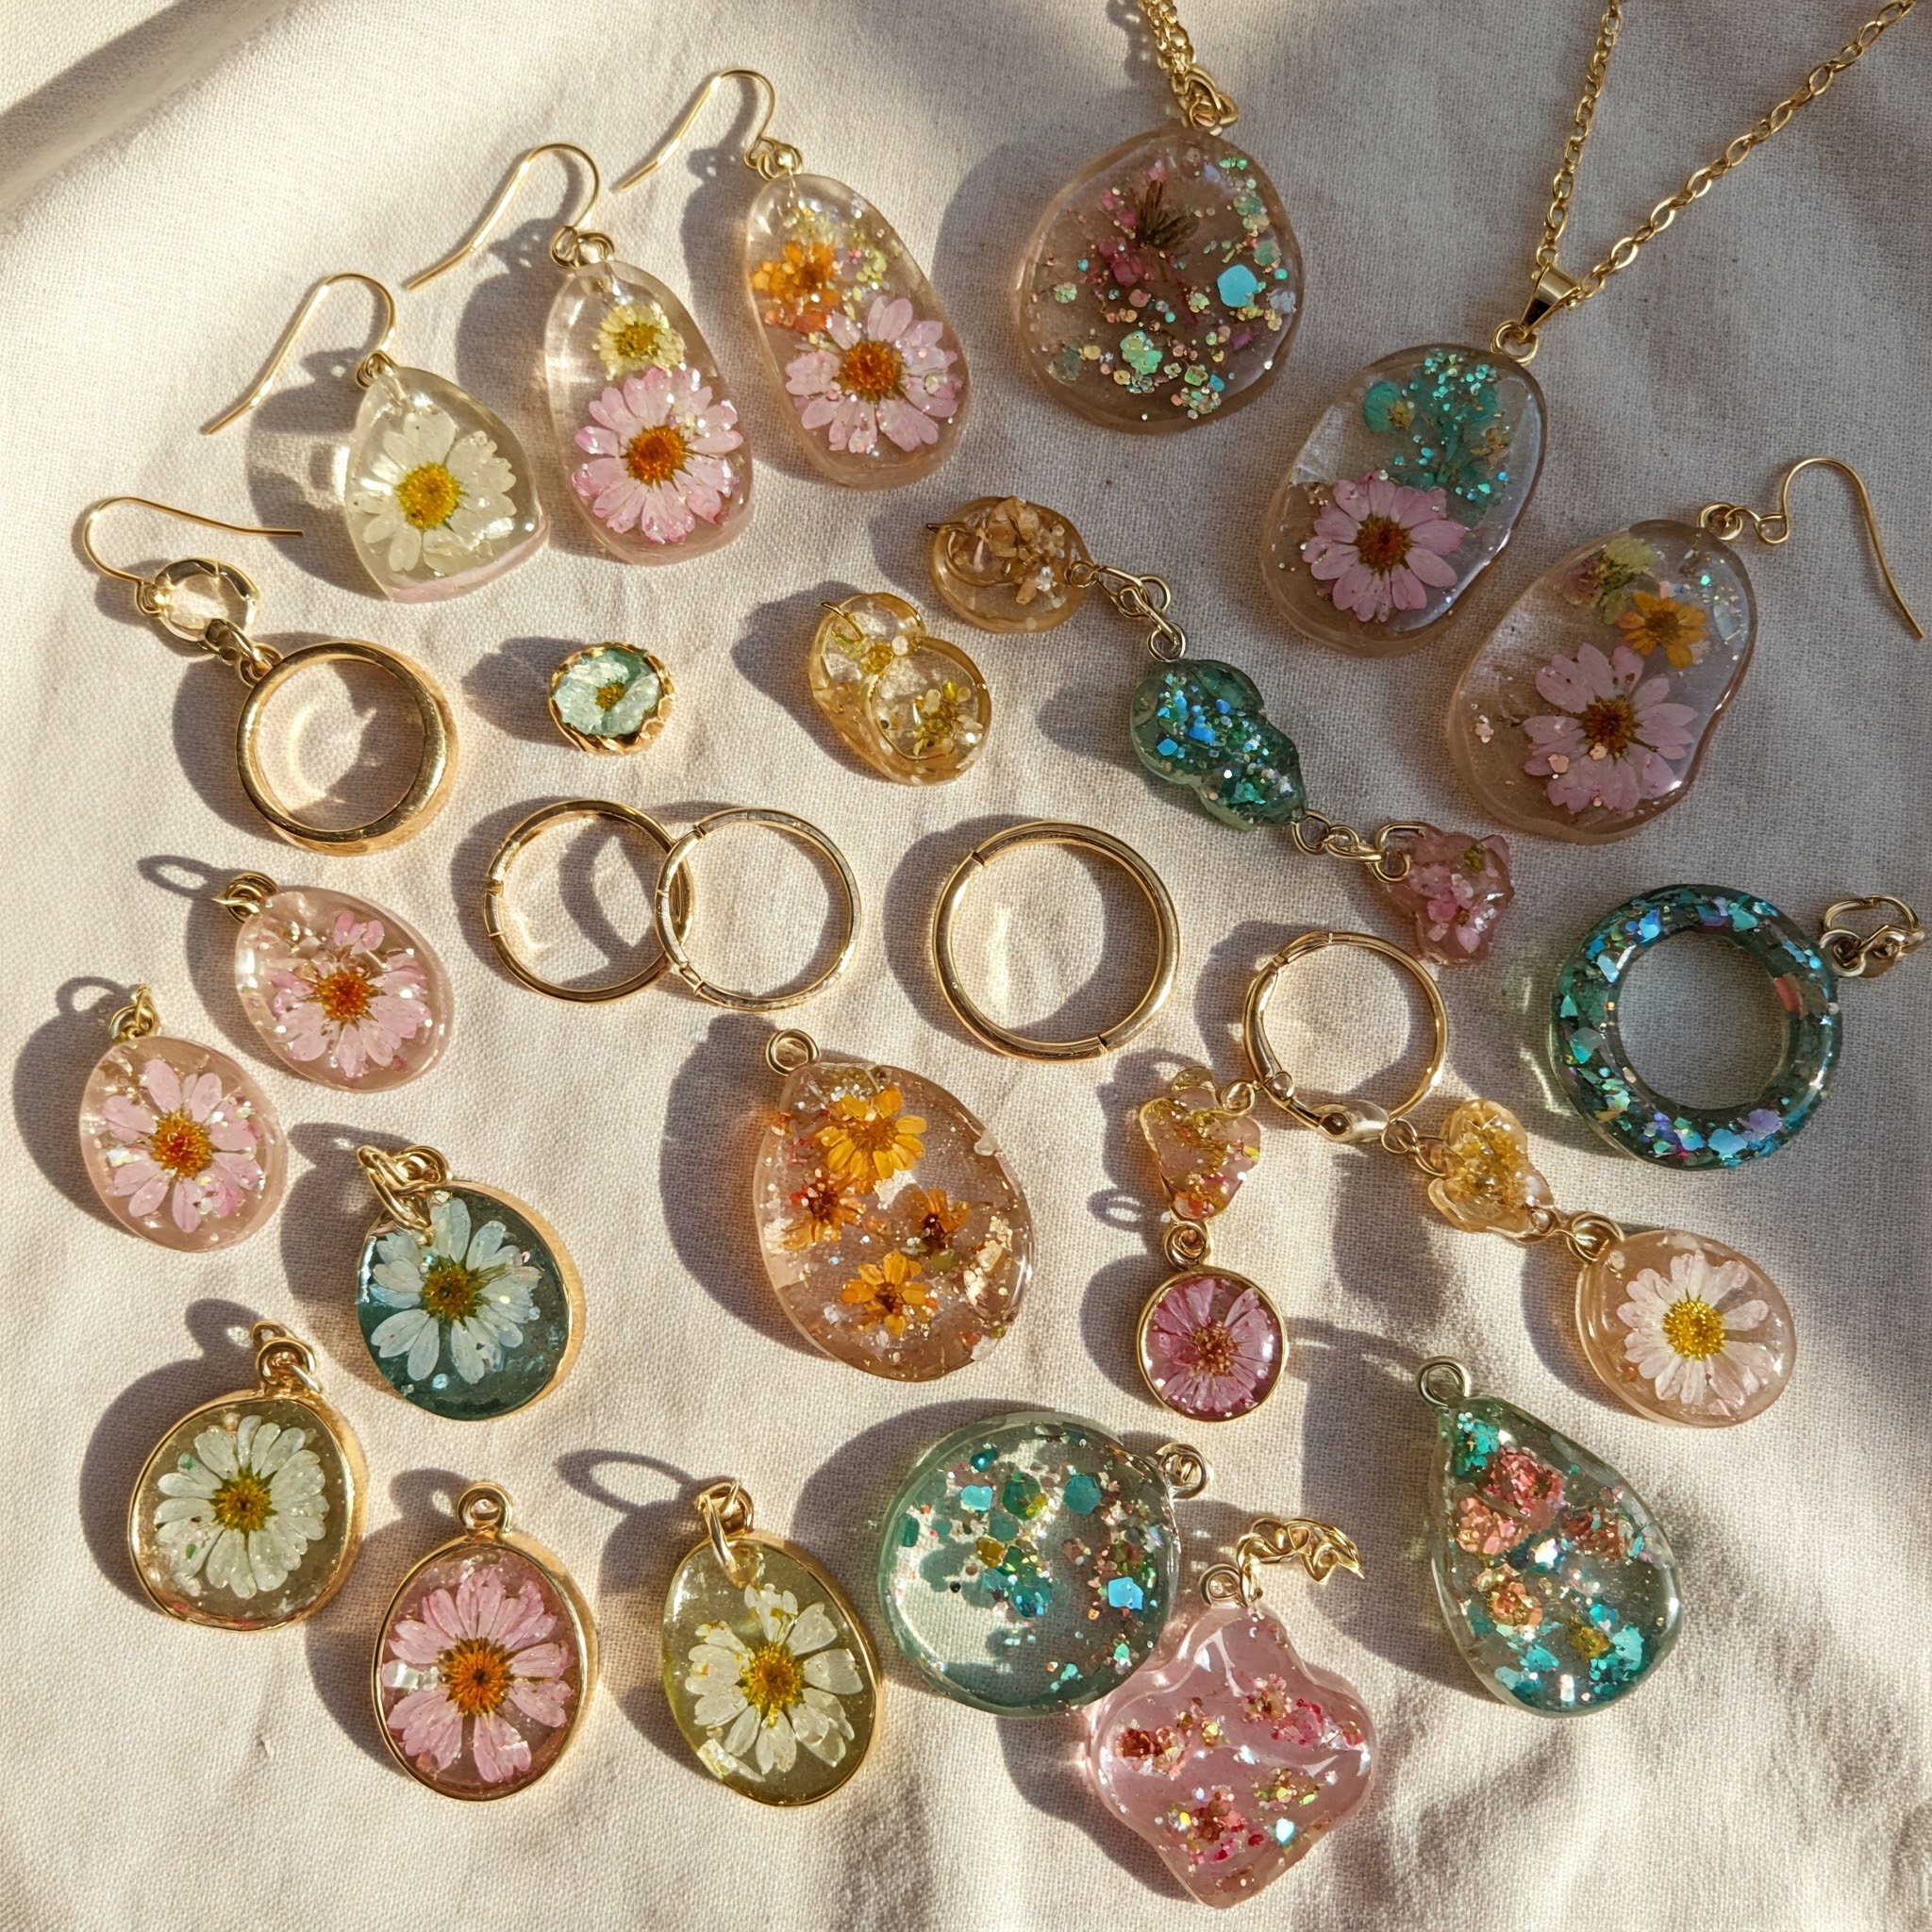
Resin jewelry is a fun and creative way to express your personal style. Here’s a step-by-step guide to help you get started:
1. Gather Your Supplies
- Resin: You’ll need a clear casting resin, which is available at most craft stores. Epoxy resin is a popular choice for jewelry making.
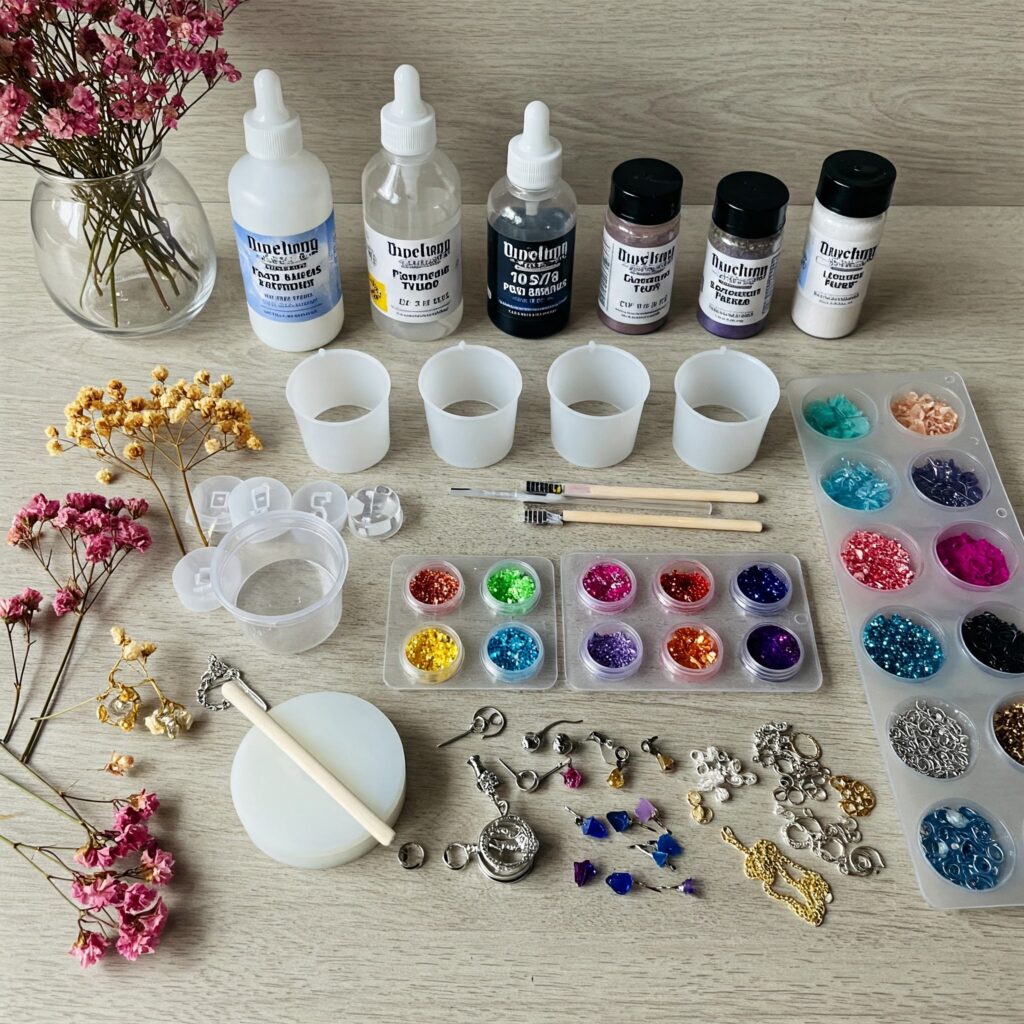
- Hardener: Resin comes in two parts, the resin and the hardener. Make sure you get the correct hardener for your resin.
- Molds: Silicone molds are ideal for resin jewelry. They come in a variety of shapes and sizes. You can also use bezels (metal frames) to create unique pieces.
- Mixing Cups and Stirring Sticks: You’ll need small cups for mixing the resin and hardener, and sticks for stirring.
- Gloves: It’s important to wear gloves to protect your hands from the resin.
- Optional Supplies:
- Pigments or Dyes: To add color to your resin.
- Glitter, Dried Flowers, or Other Embellishments: To add sparkle and interest to your jewelry.
- Jewelry Findings: Such as jump rings, clasps, and earring hooks, to assemble your finished pieces.
2. Prepare Your Workspace
- Choose a well-ventilated area: Resin fumes can be strong, so it’s important to work in a space with good airflow.
- Protect your work surface: Cover your table with a plastic cloth or newspaper to protect it from spills.
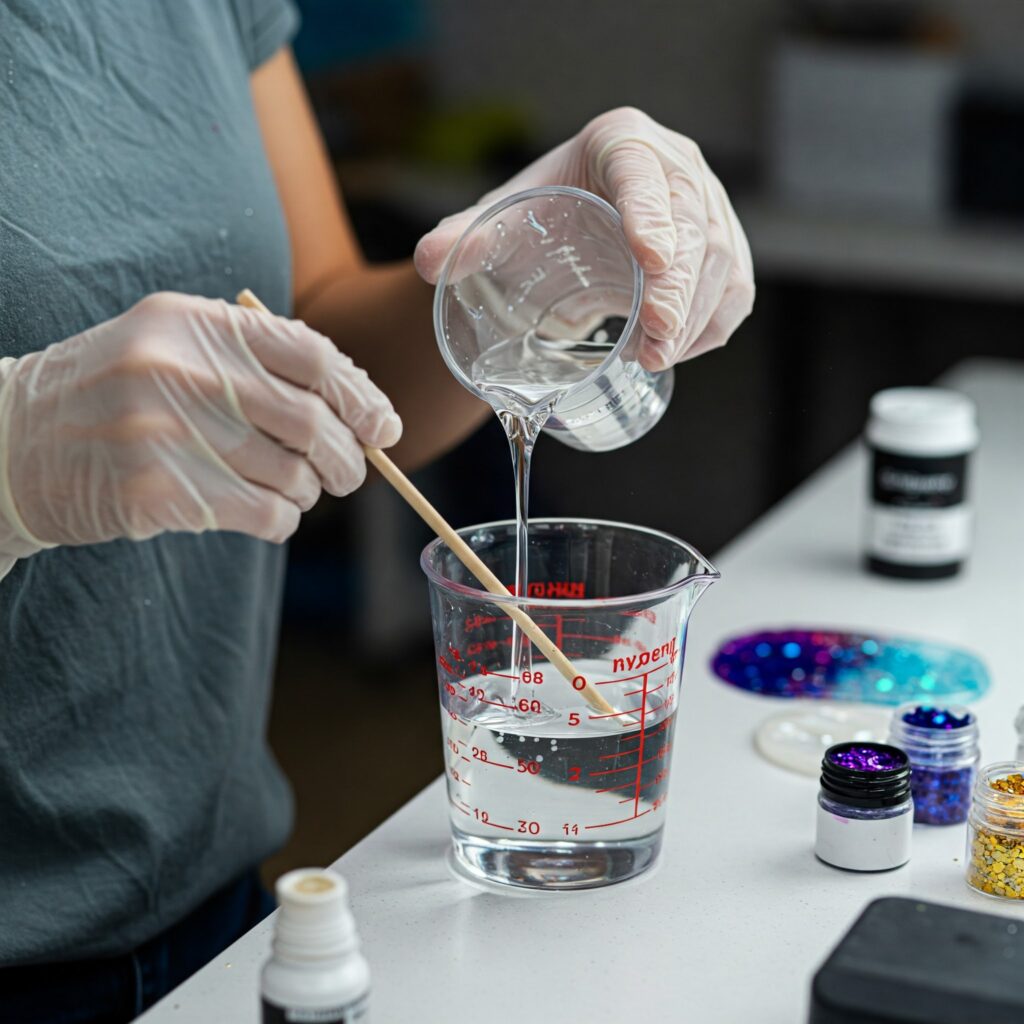
3. Mix the Resin and Hardener
- Read the instructions: Carefully follow the instructions on your resin packaging for the correct ratio of resin to hardener.
- Mix thoroughly: Pour the resin and hardener into a mixing cup and stir slowly and steadily for several minutes. Make sure to scrape the sides and bottom of the cup to ensure everything is mixed evenly.
- Let it sit: Allow the resin mixture to sit for a few minutes to allow any air bubbles to rise to the surface.
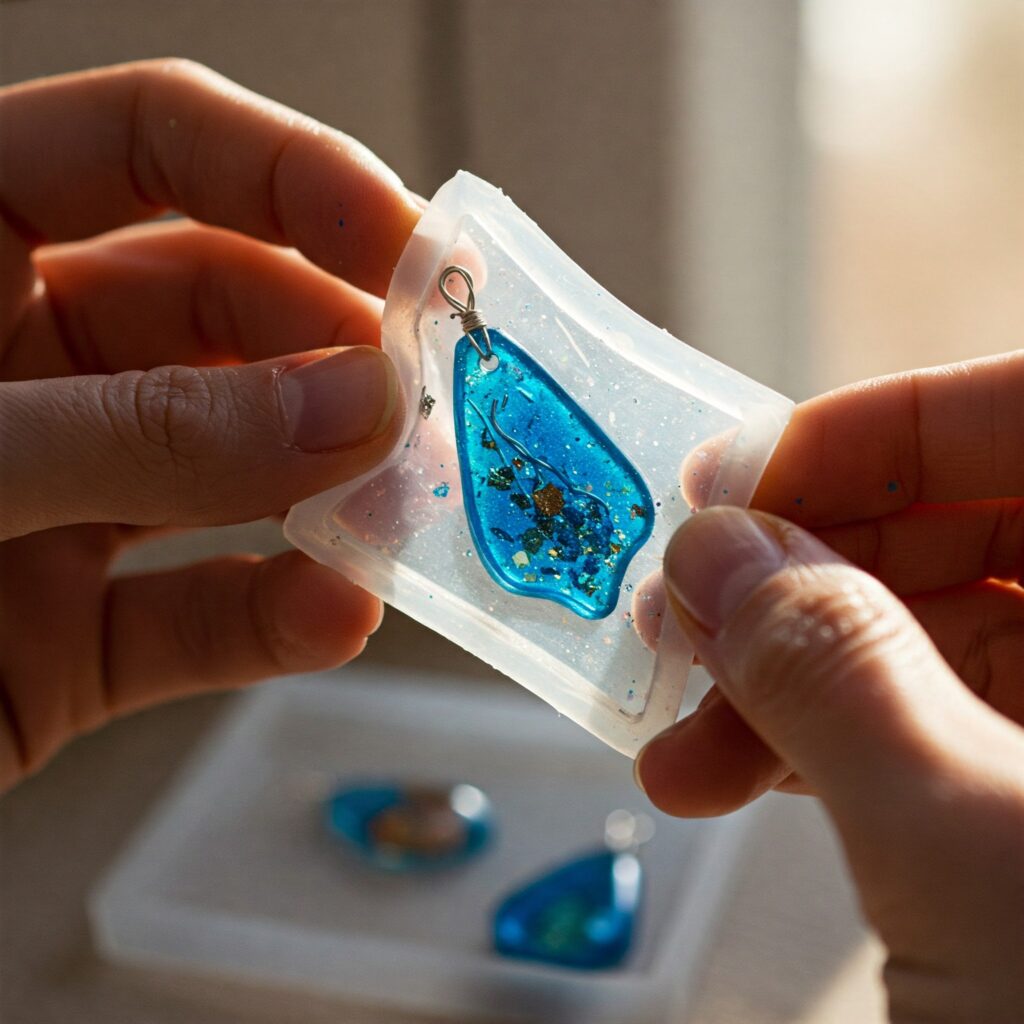
4. Pour the Resin into the Molds
- Fill the molds: Carefully pour the resin mixture into your molds. If you’re using embellishments, add them now.
- Remove bubbles: Use a toothpick or pin to pop any air bubbles that rise to the surface.
5. Let the Resin Cure
- Follow the instructions: The curing time will vary depending on the type of resin you’re using. Check the packaging for specific instructions.
- Be patient: Don’t try to remove your jewelry from the molds until it’s fully cured.
6. Finish Your Jewelry
- Remove from molds: Once the resin is cured, carefully remove your jewelry pieces from the molds.
- Add findings: Attach jump rings, clasps, earring hooks, or any other findings you need to complete your jewelry.
Tips for Success
- Start with small projects: It’s best to begin with simple designs and gradually work your way up to more complex pieces.
- Practice makes perfect: Don’t be discouraged if your first few attempts aren’t perfect. Keep practicing and you’ll improve over time.
- Experiment: Have fun trying different colors, embellishments, and techniques to create unique jewelry that reflects your style.
Safety Precautions
- Wear gloves: Resin can irritate your skin, so it’s important to wear gloves.
- Work in a well-ventilated area: Resin fumes can be harmful, so make sure you’re working in a space with good airflow.
- Read the instructions: Always follow the manufacturer’s instructions for mixing and using the resin.
With a little practice and creativity, you can create beautiful and unique resin jewelry that you’ll be proud to wear or give as gifts.