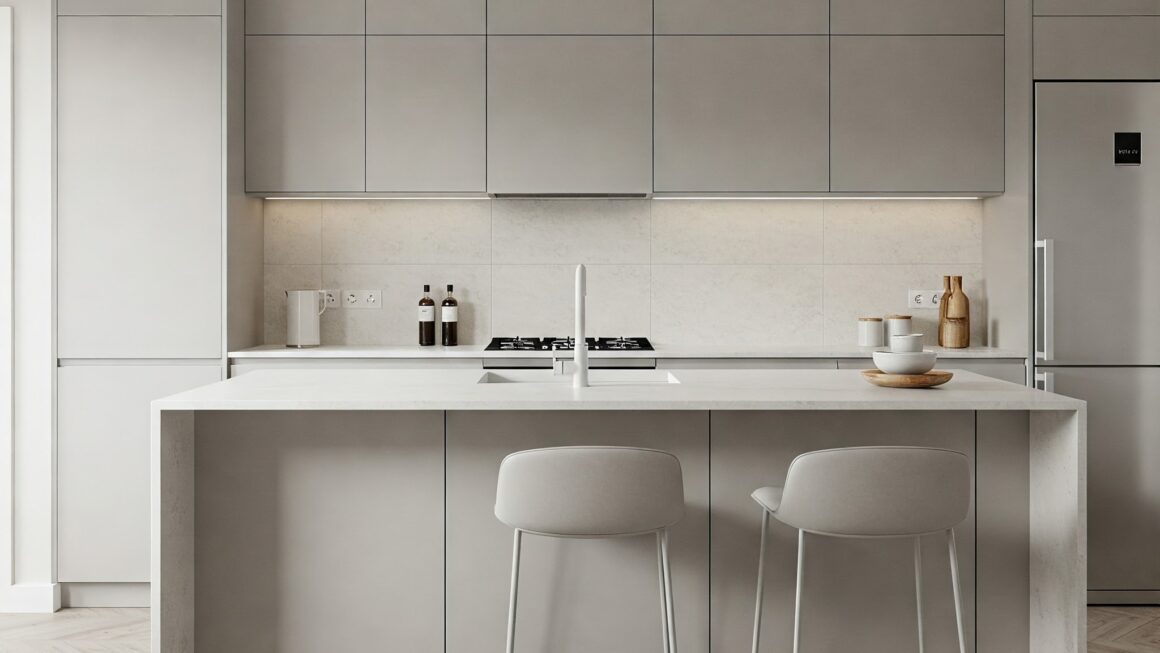
Floating shelves are a stylish and practical way to add storage and decor to any room. The best part? You can build them yourself with just a few materials and tools! Follow this simple step-by-step guide to create your own floating shelves at home.
Materials You’ll Need:
✔️ Plywood or solid wood (for the shelf)
✔️ 2×2 wooden cleats (for mounting)
✔️ Screws and wall anchors
✔️ Wood glue
✔️ Sandpaper
✔️ Paint or stain (optional)
✔️ Measuring tape
✔️ Level
✔️ Drill
✔️ Saw
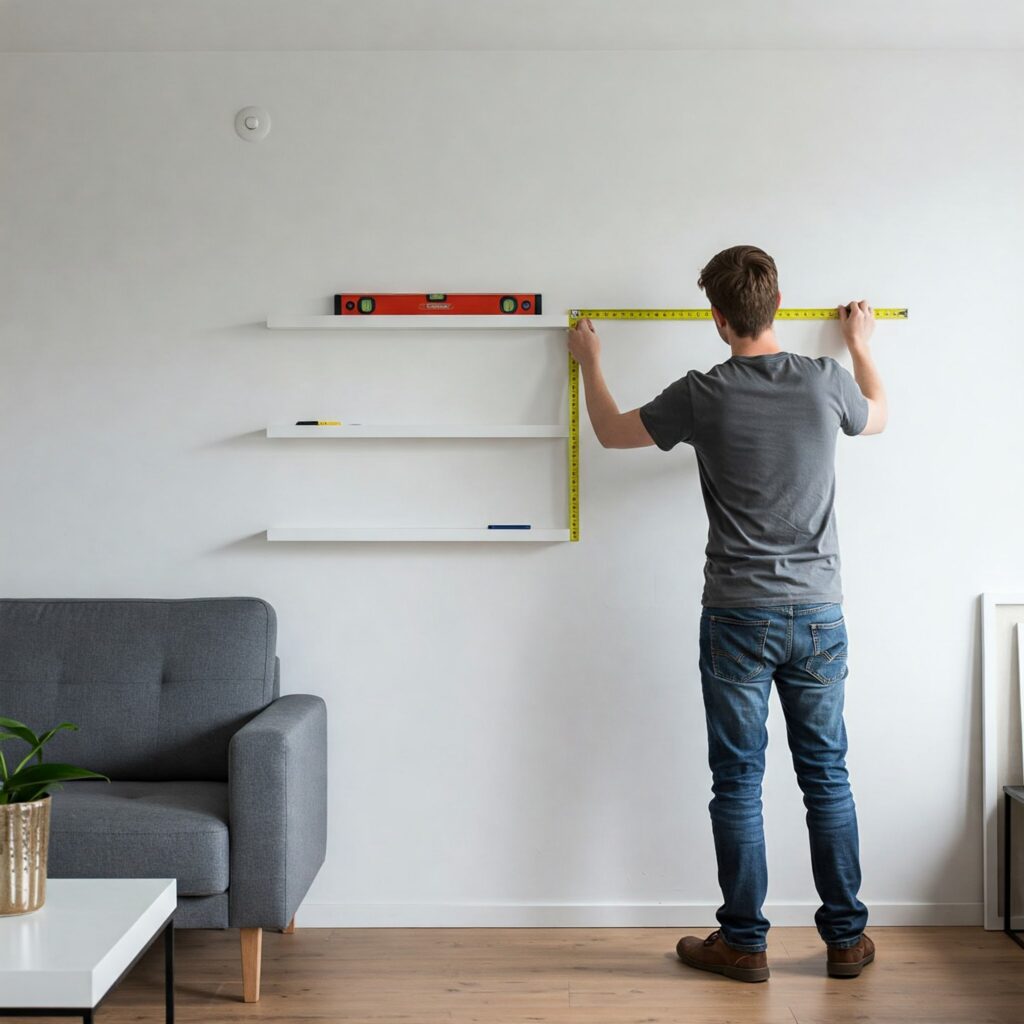
Step 1: Measure and Plan
Decide where you want to install your shelves and measure the space. Mark the wall where the brackets (wooden cleats) will go, ensuring they are level.
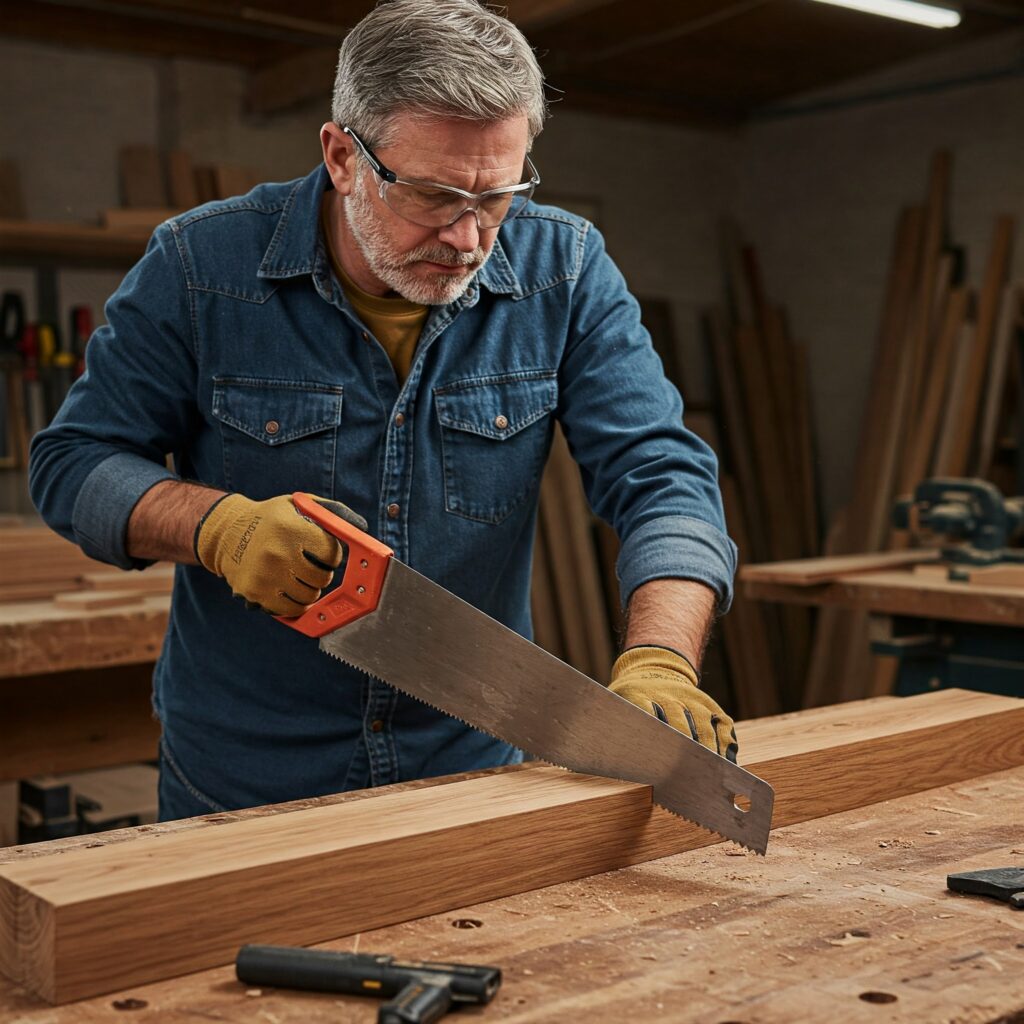
Step 2: Cut Your Wood
Cut your main shelf board to the desired length. Then, cut two pieces of 2×2 wood that will act as mounting cleats. These will be secured to the wall to support the shelf.
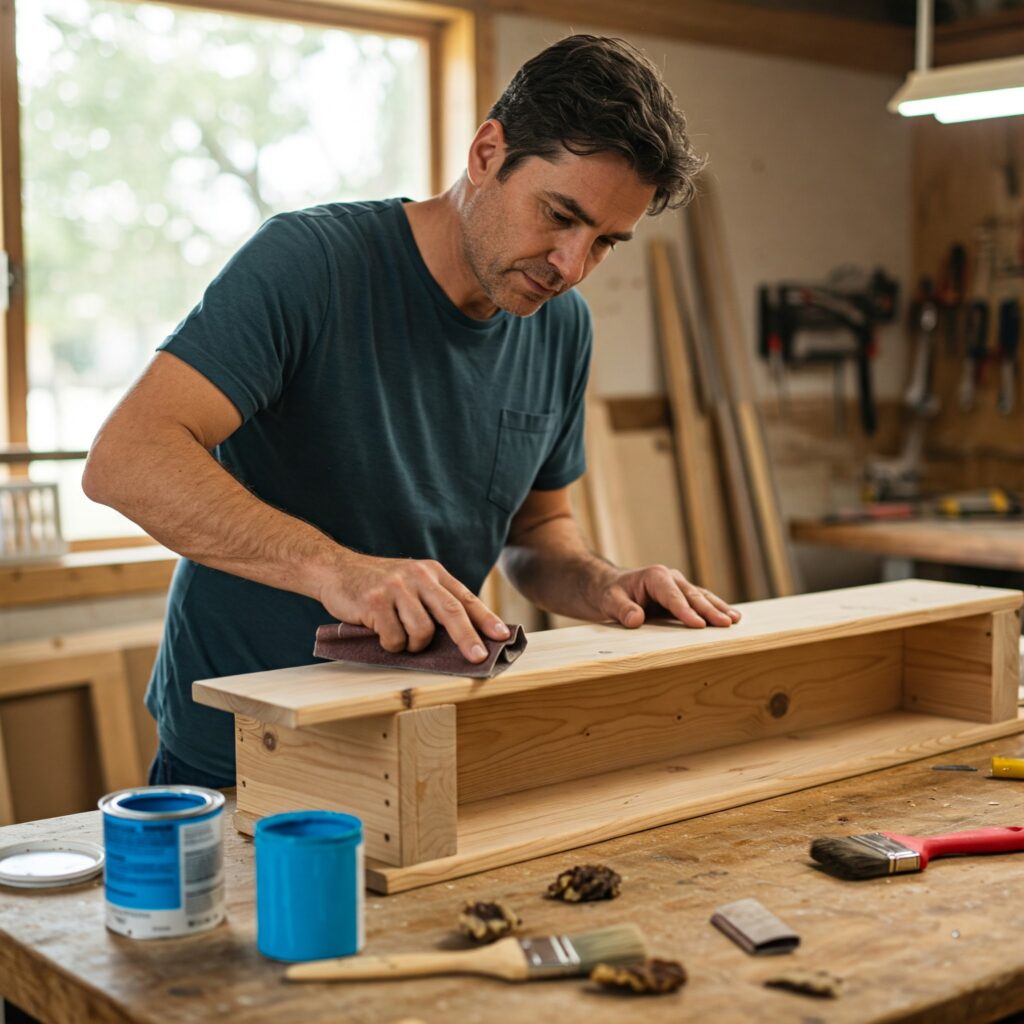
Step 3: Sand and Paint (Optional)
Smooth out the wood using sandpaper. If you want a specific look, now is the time to stain or paint the shelves. Let them dry completely before moving on.
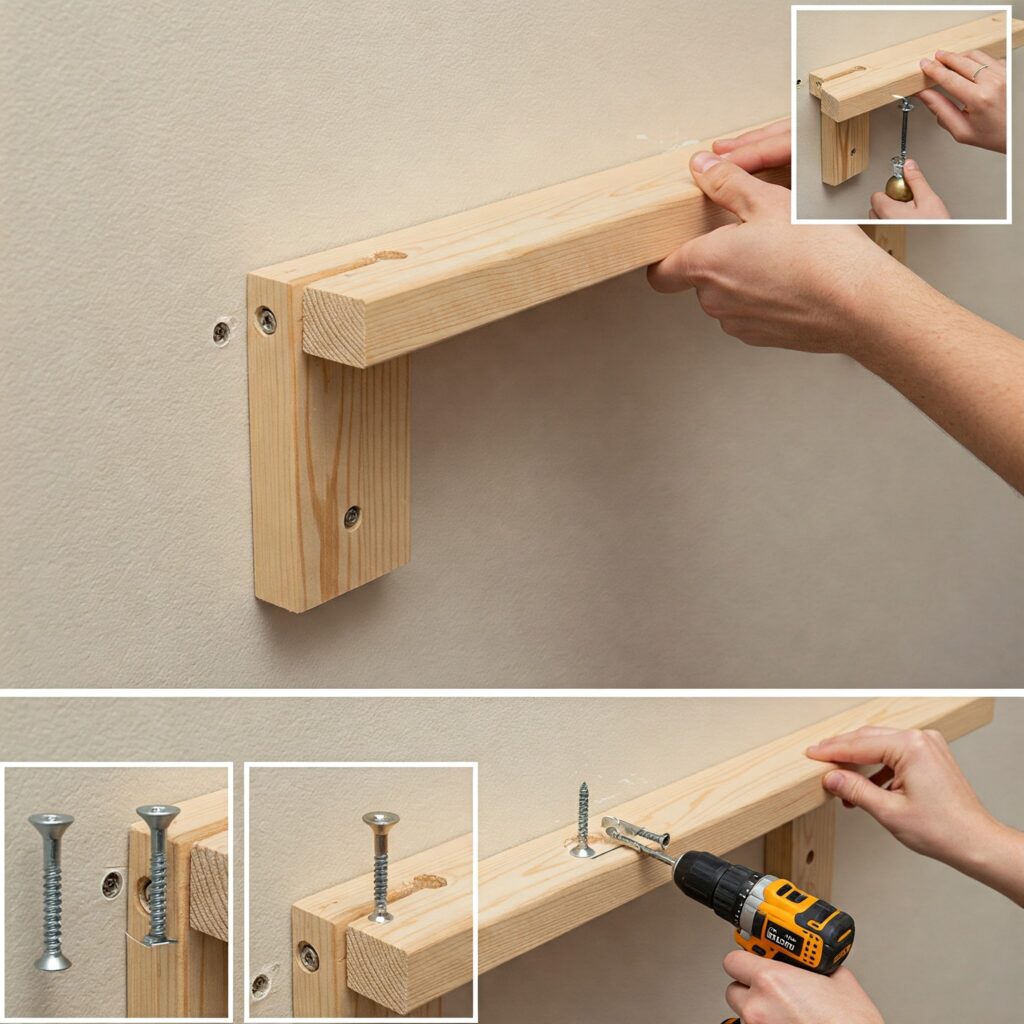
Step 4: Attach the Wall Cleats
Use a drill to secure the 2×2 cleats to the wall with screws and wall anchors. Make sure they are level before tightening. These cleats will hold the shelf in place.
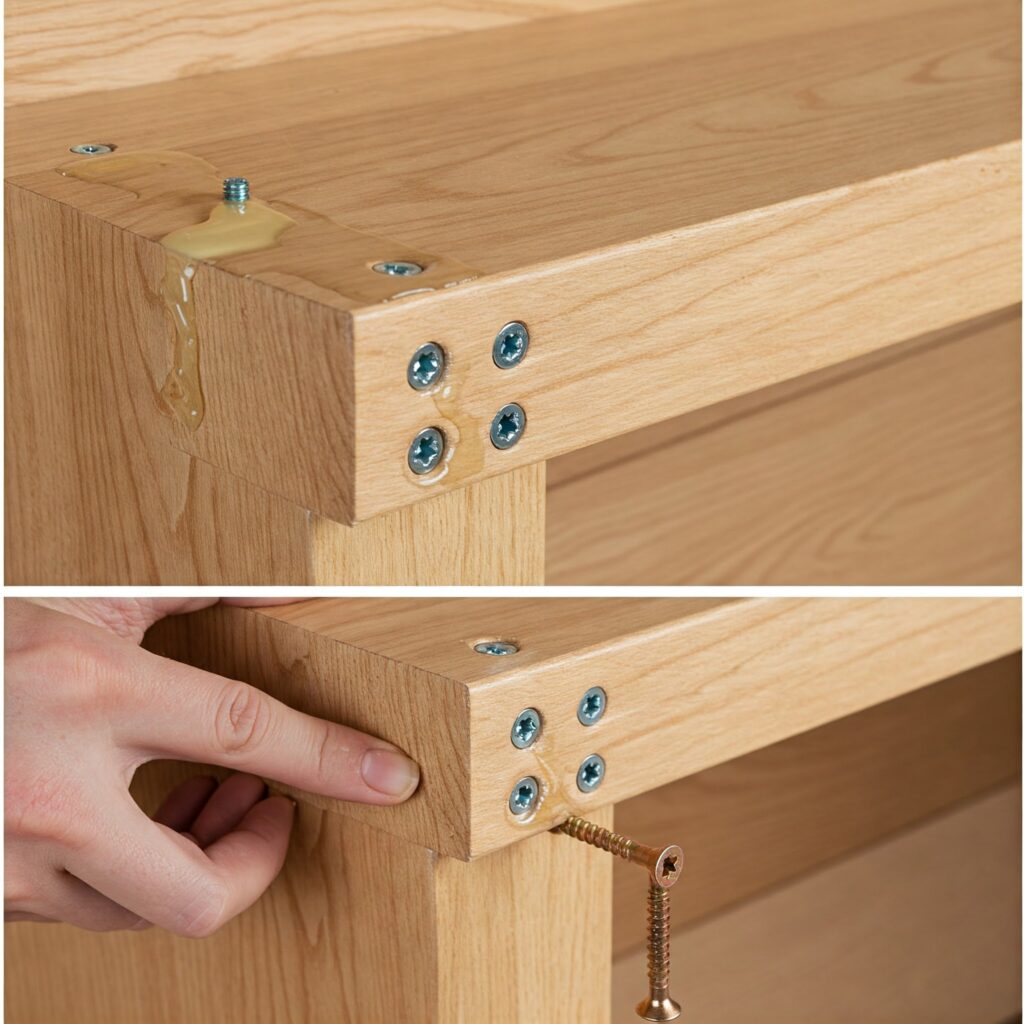
Step 5: Install the Shelf
Apply wood glue to the top of the cleats, then slide the shelf over them. Secure the shelf with screws from the top or bottom to ensure it stays in place.
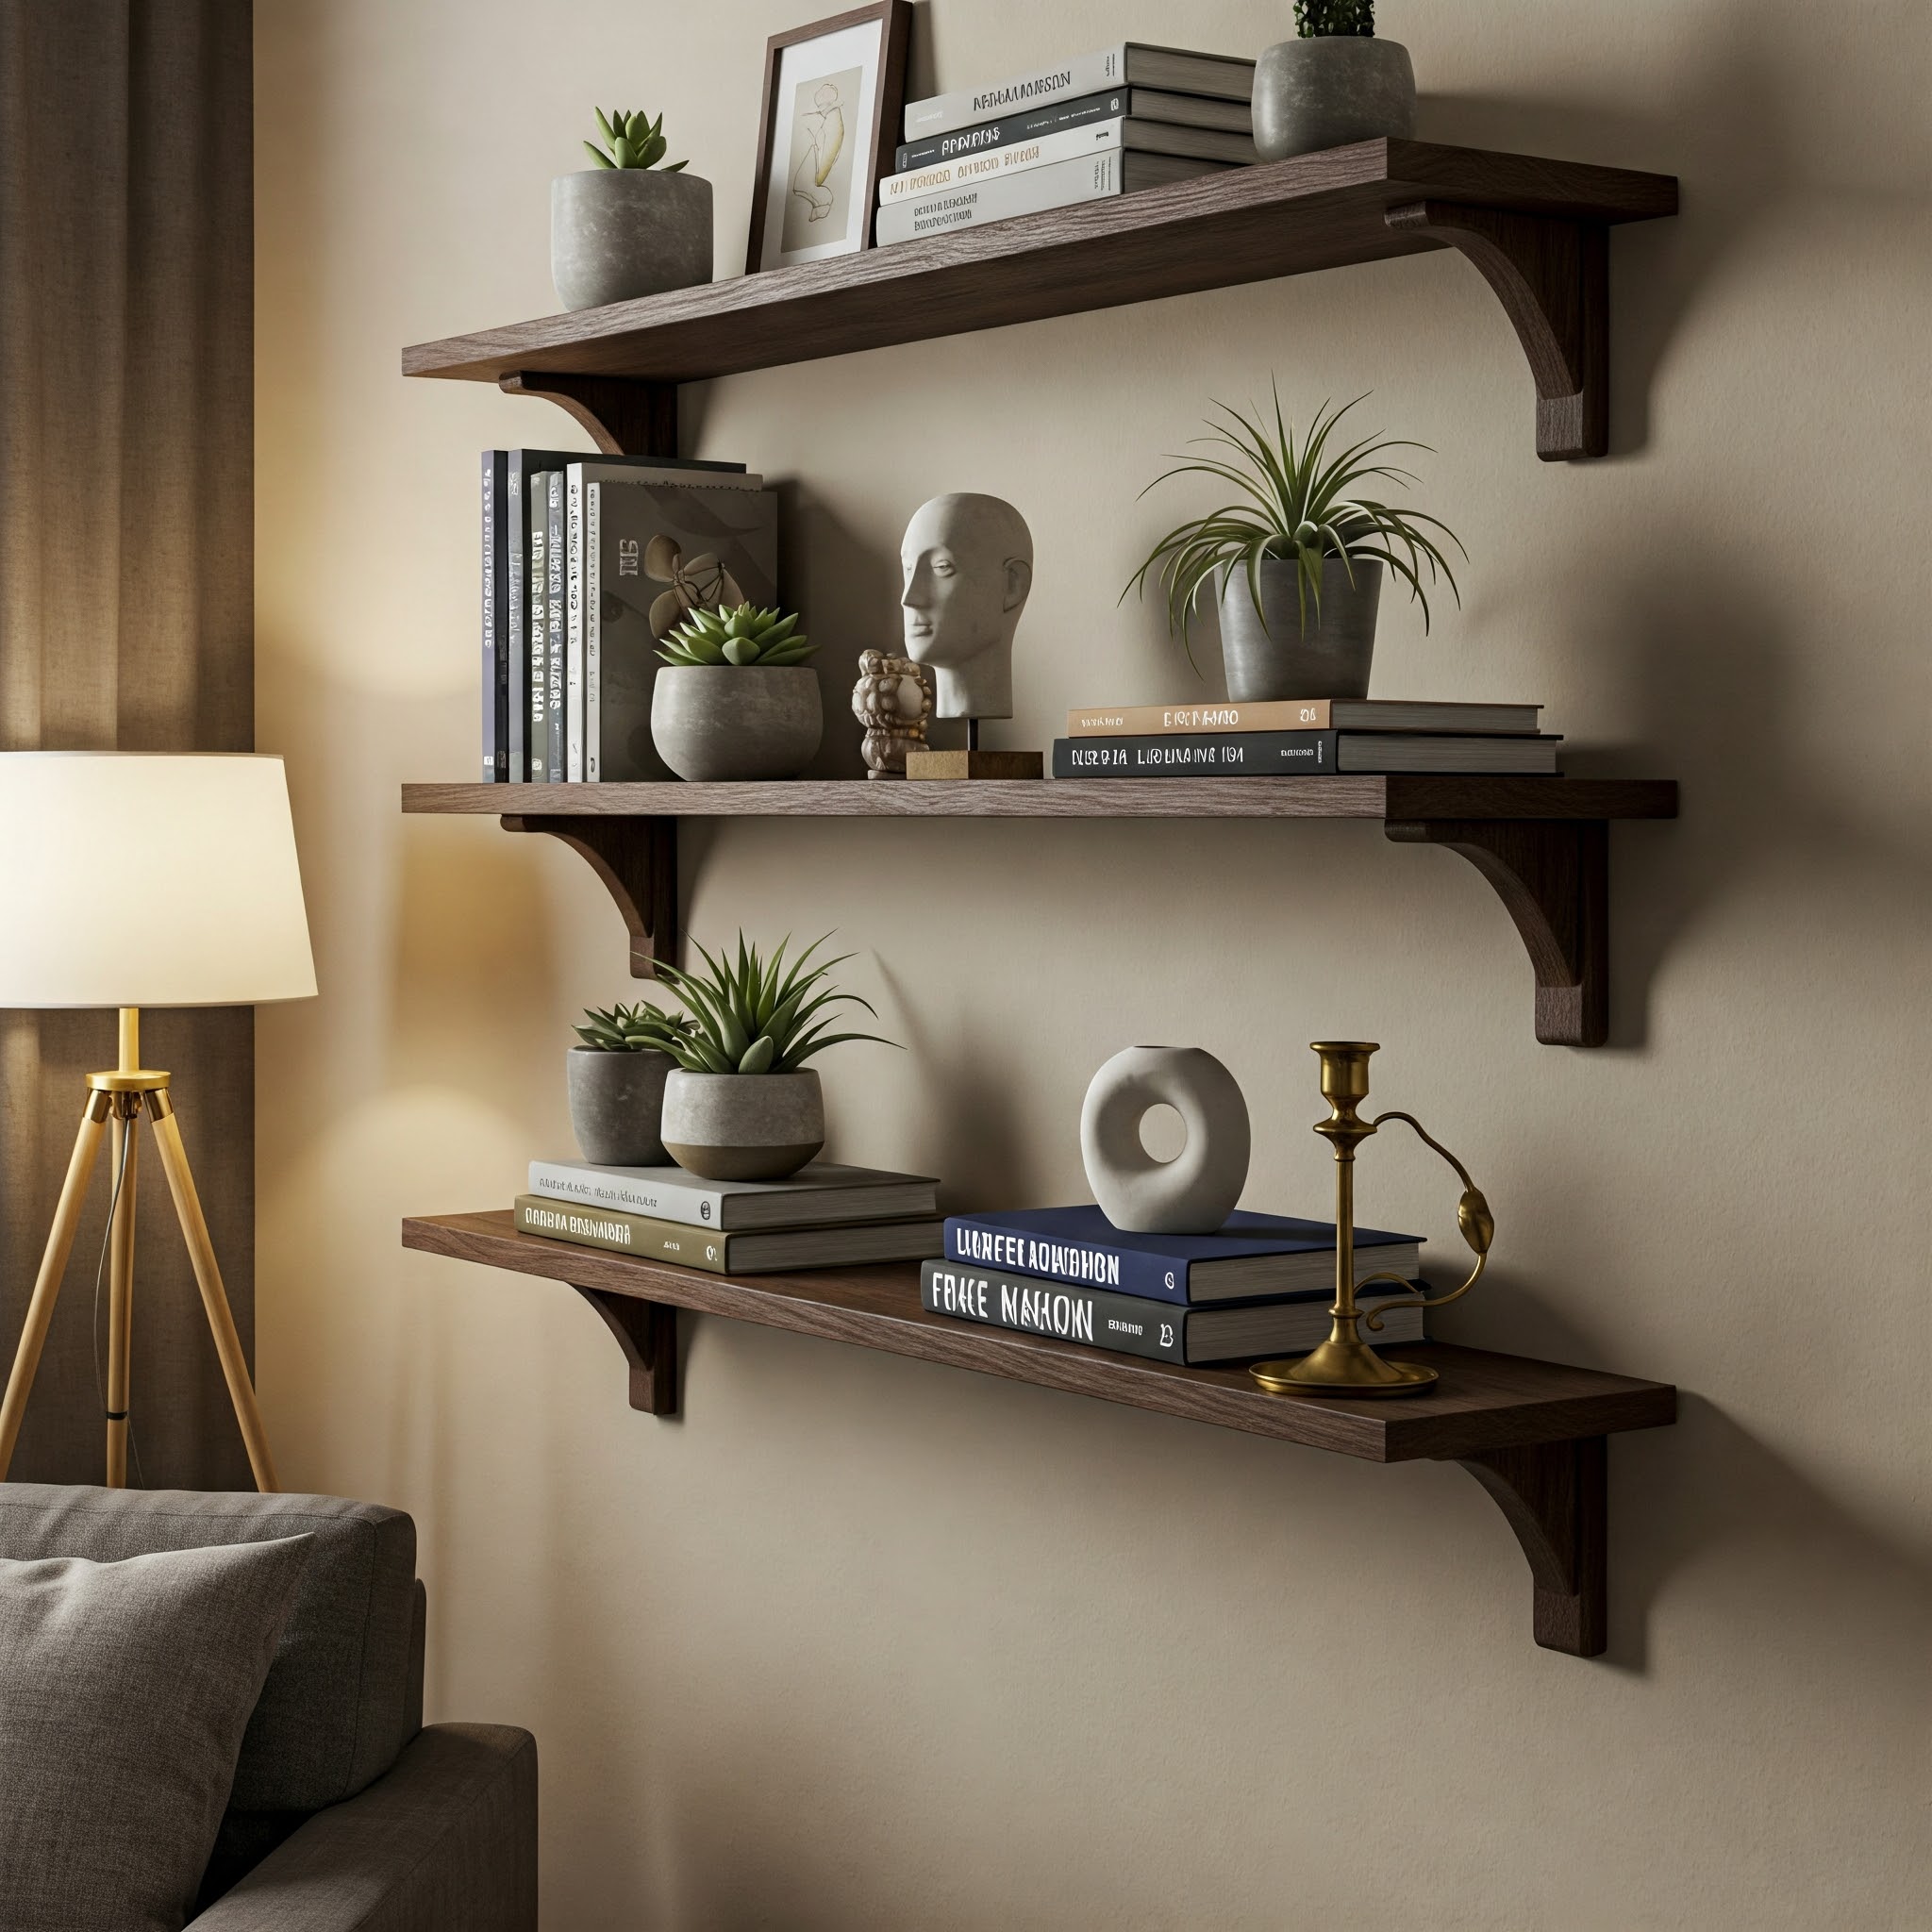
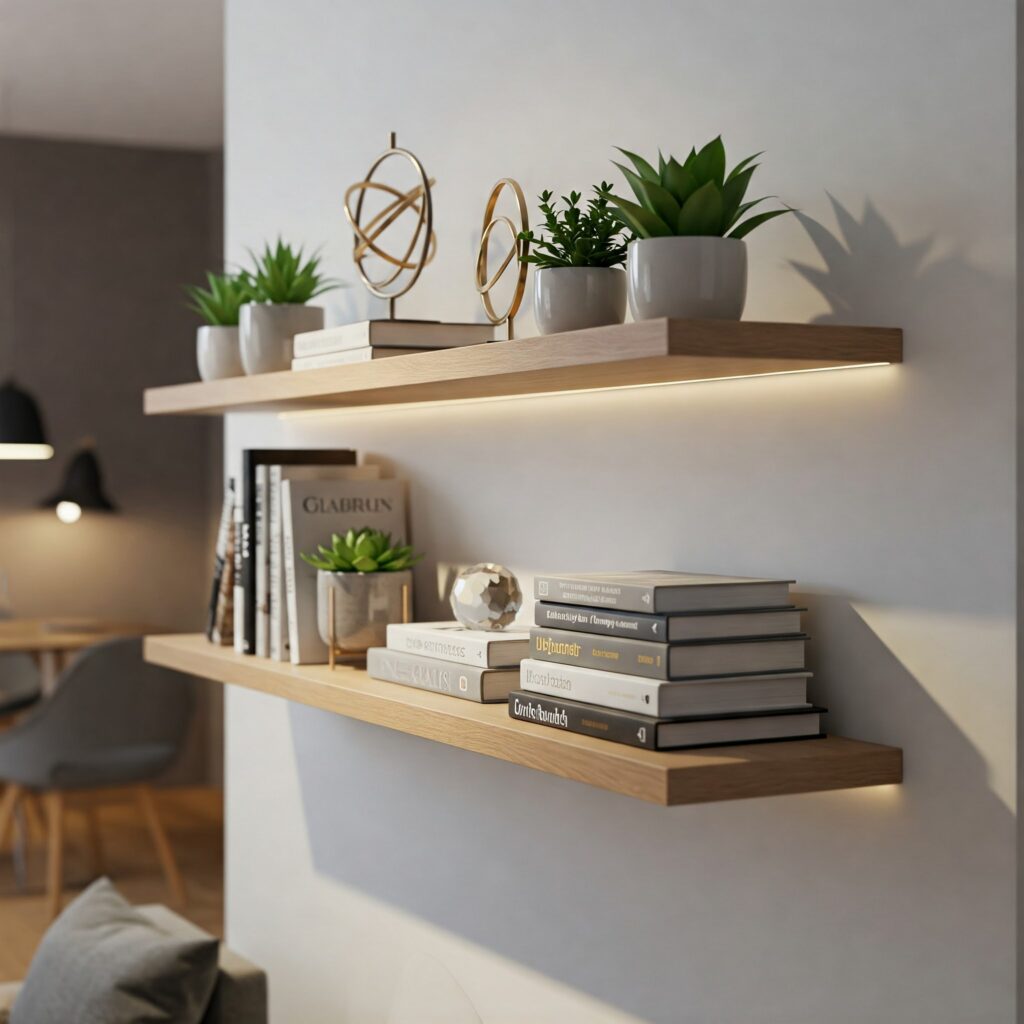
Step 6: Final Touches
Check that everything is level and secure. Decorate your new floating shelves with books, plants, or decorative items!
Final Thoughts
Building your own floating shelves is an easy and budget-friendly DIY project that adds both function and style to your space. Try experimenting with different wood finishes or shelf depths to match your home decor perfectly.
Would you try this DIY project? Let me know in the comments! 😊